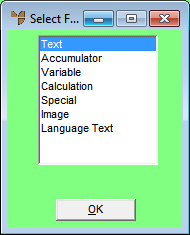
Special fields are those which are commonly used in reports, including:
|
|
|
To add a special field to a report:
Refer to "Edit - Add Field".
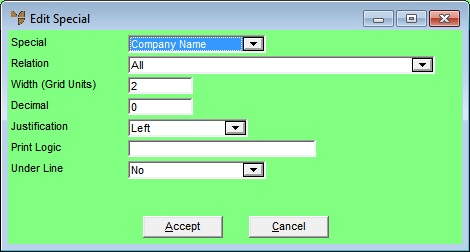
Micronet displays the Edit Special screen.
|
|

|
Technical Tip You can display this screen quickly by selecting the Special Tool on the Report Generator toolbar and then clicking on the report where you want the special field to be added.
|
|
|
Field |
Value |
|
|
Special |
Select the special field you want on the report. |
|
|
Relation |
Select a relation on which the special field is based, i.e. the field only appears when that relation is in use. |
|
|
Width (Grid Units) |
Enter the length of the field on the report in grid units. This defaults to the maximum size the field can be (as pre-set in Micronet). |
|
|
Decimal |
Enter the number of decimal places to be displayed. |
|
|
Justification |
Select whether output is to be left justified, centred or right justified |
|
|
Print Logic |
Enter any condition where the field is to be displayed if the condition is valid. For example, this would be used in the invoice format where you only want the Sales Tax field to be shown if the debtor is a wholesale debtor. Therefore in the Print Logic field of the Sales Tax field on the report, you would enter: DBT_RETAIL = = 'W'. This will only print the field when the debtor is a wholesale debtor. 0 = Does not print |
|
|
Under Line |
Select whether you want a single or double line to be printed on the report before or after your variable field, or select No for no line. |
Micronet redisplays the Report Generator screen for the selected report. If you used the Special Tool to insert the special field, the field displays where you clicked.
If you used menu options to insert the special field, Micronet displays a rectangle which moves with the cursor.
Micronet inserts the special field on the report where you clicked.

